“Plan Efficient Water Navigation Routes with Route compass” will help water route creators to prime their planning process, make easy transitioning between locations and create schedule for guide speaking on related events. MAPOG Compass tool Voyage planner aids in creating itineraries for tour guides and plane navigation for expeditions hopping islands across various routes. Get an in-depth understanding of the changing realm of urban planning by reading “GIS Analysis in Urban Planning: Reshaping Transportation Future Insights of state/city” and see how GIS can play a revolutionary role in maximizing transportation for a sustainable and connected future.
Key Concept to Create Water Navigation Route Using MAPOG’s Route Compass
Visualizing the sea navigation path connecting the islands is our straightforward goal. This map’s theme clearly provides the useful details of the routes in such a small nation.
Below are the steps for Creating Water Navigation Route Using Route Compass
Step 1: Open Route Compass Tool
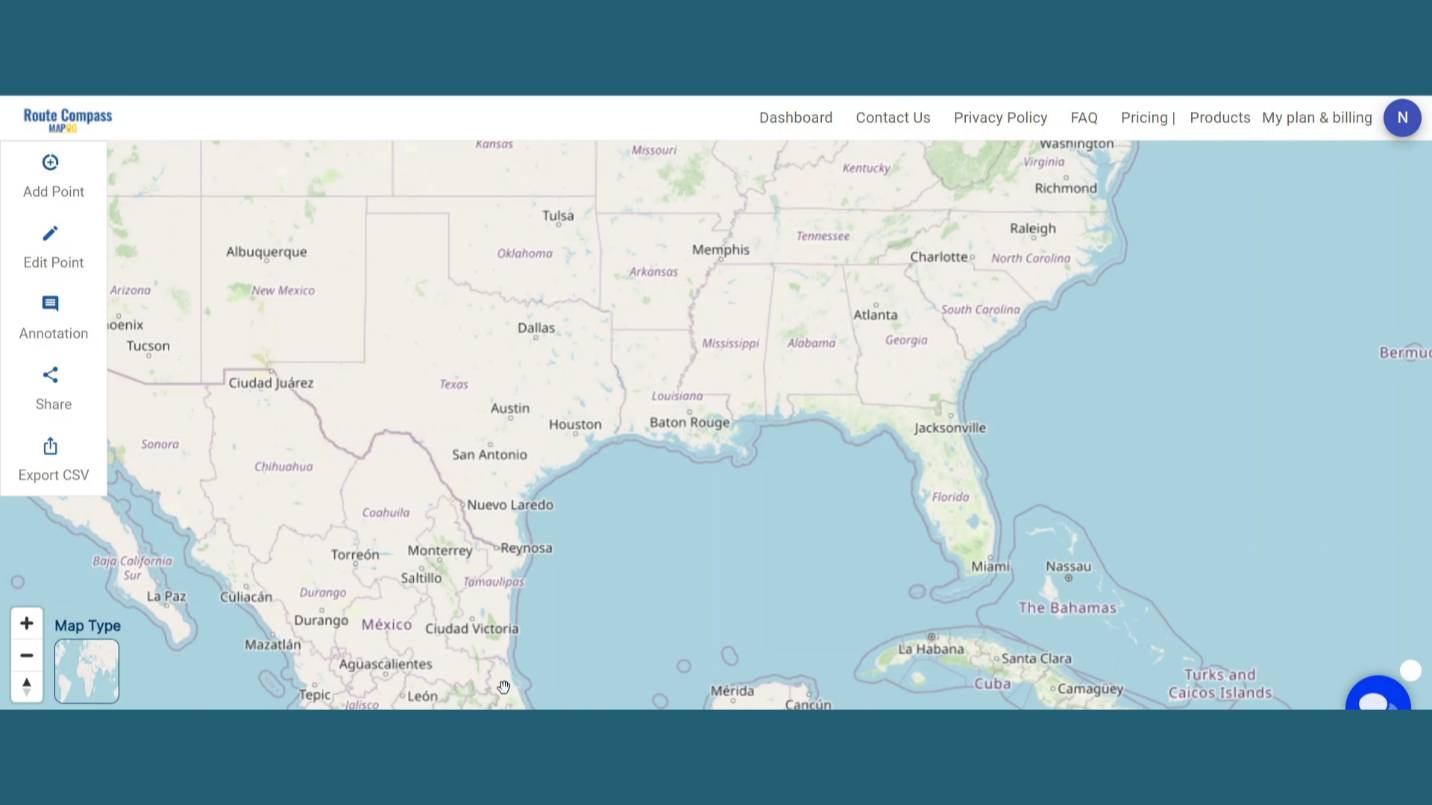
Frist, Navigate to the Route Compass Tool interface.
Step 2: Add Points:
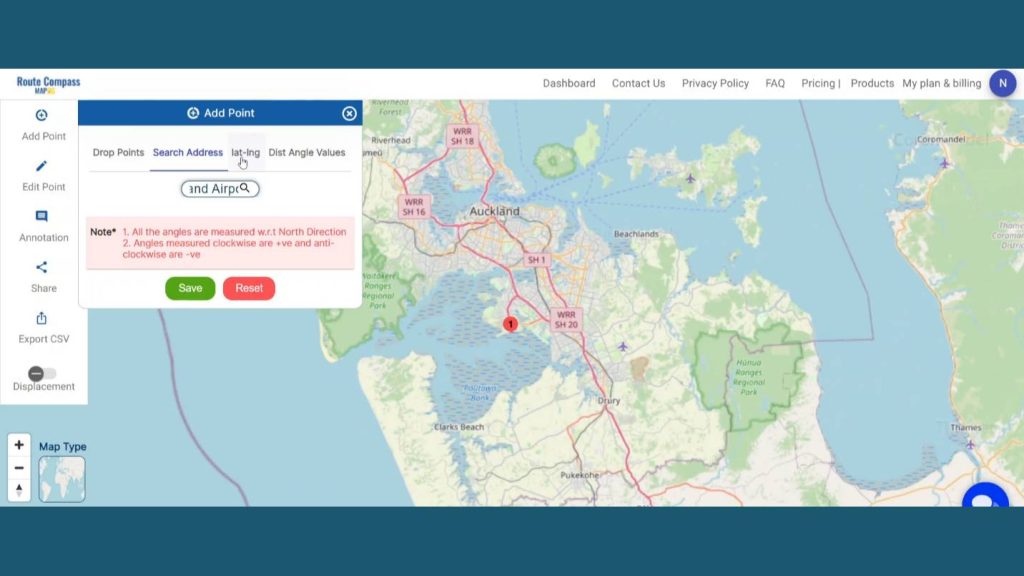
Now, after coming to the Route Compass interface you’ll see the Add point button click on the Search Address section and search for the location you desire. Here I’ve searched for a small island country as I’m making a water Route between some popular islands. After providing the address a point will be dropped there. That is our first point.
Step 3: Create Routes
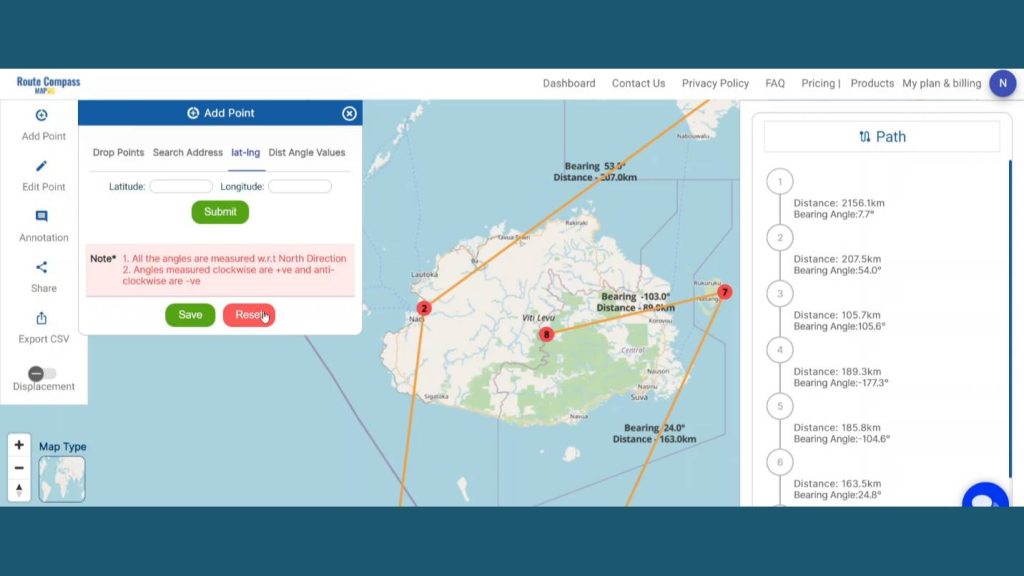
Now, let’s add the way points as per our source and destination. We are going to put nearly 5 waypoint areas in the map that are very important & related to island-hopping using the latitude & longitude, Distance and bearing angle method.
Step 4: Save Route Map
After finishing the routes click on the save button showing the left side of the screen in the add points button. By clicking the save button a dialogue box will open. Give the proper project name and description related to the project and click on create map. And the map will be saved.
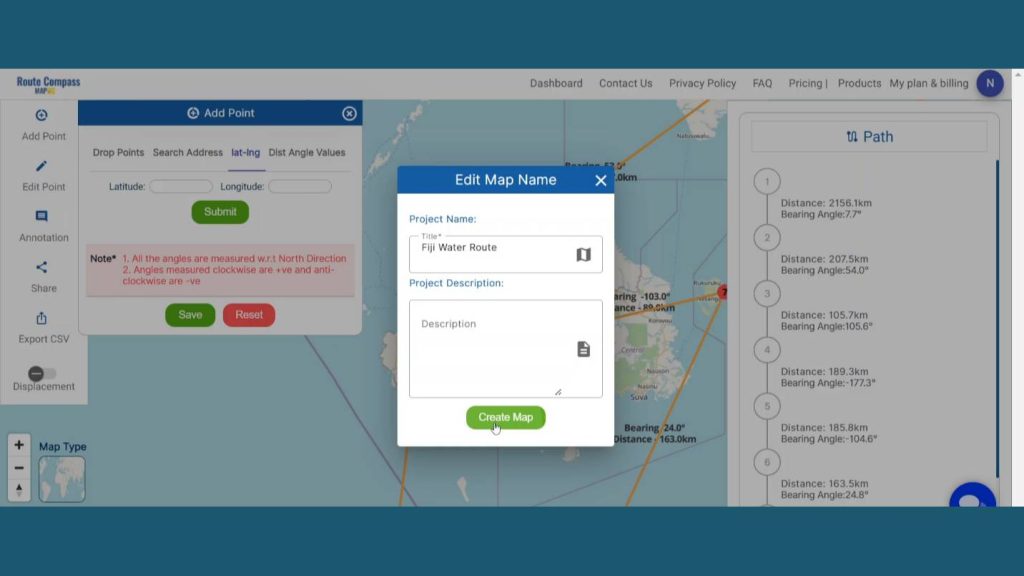
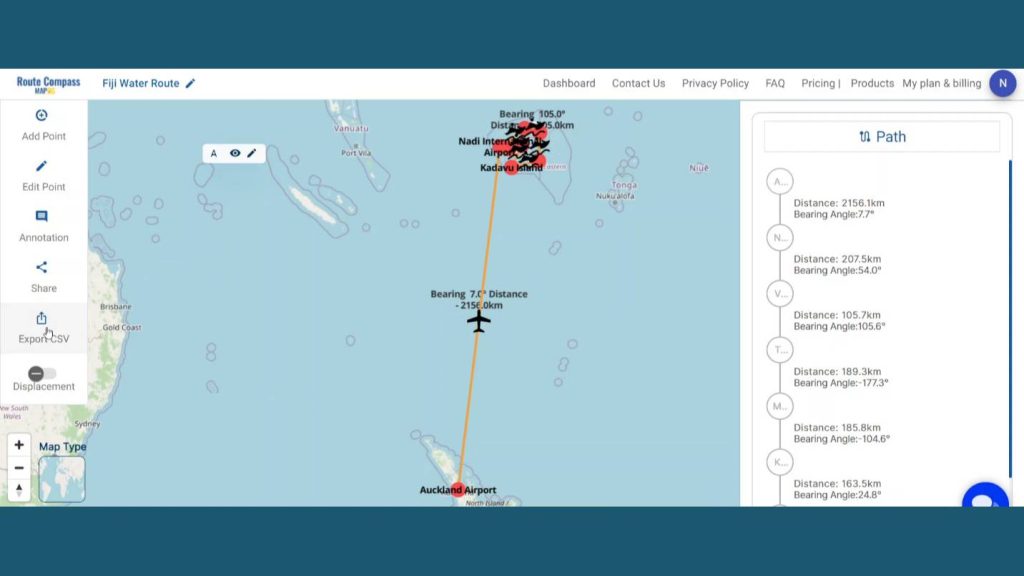
You can even view the distance and bearing angle between 2 points on the right side of the screen. It helps the user to get more detailed information about the route they are creating.
Step 4: Edit Text
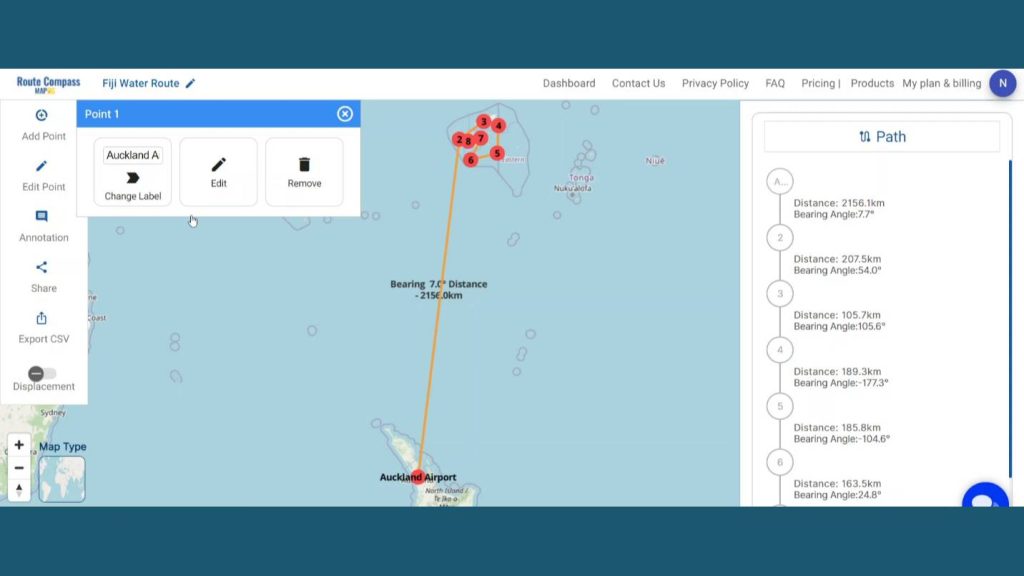
To add any text by the points, Go to the Edit Point option. It lets the user change the labels of the waypoints for better understanding.
Step 5: Add Icons
Additionally, MAPOG gives the opportunity to enhance the map by adding the Icons. First go to the Annotation and click on the shape button.
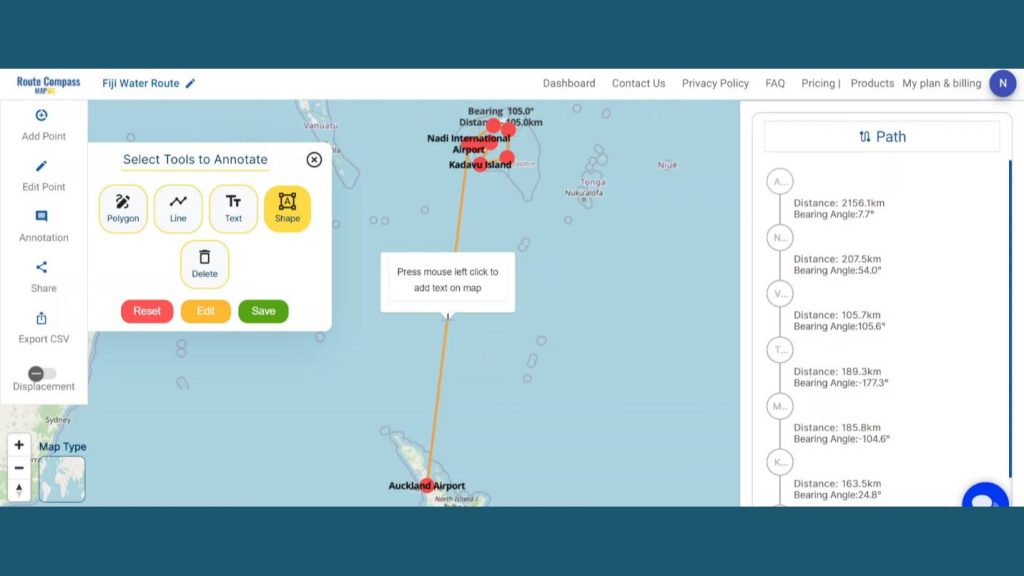
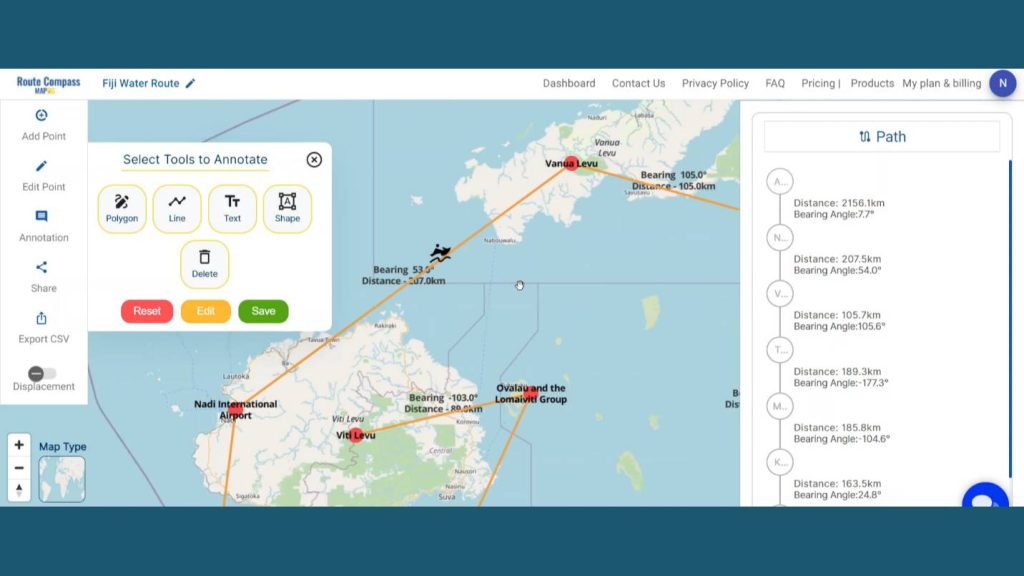
An icon box will open on the screen. Then you can search for a particular icon and drop it on the map. This lets the user explain the exact use of any particular path or location to provide context to the audience.
Step 6: Share Route Map
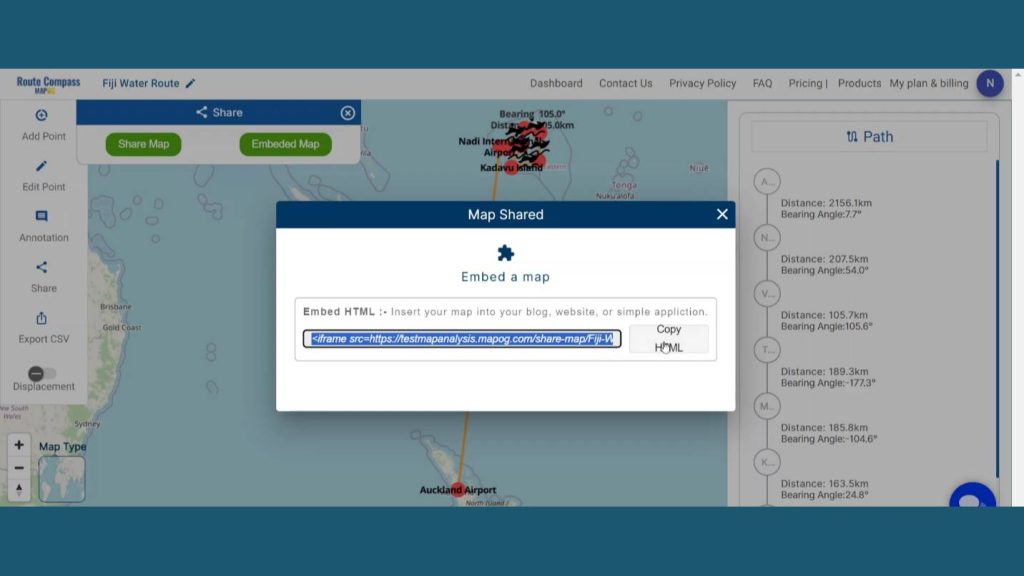
Users can even share their map by clicking the share button. There are two options. By share map users can Send or post it in their social networks by copy link option or preview option.
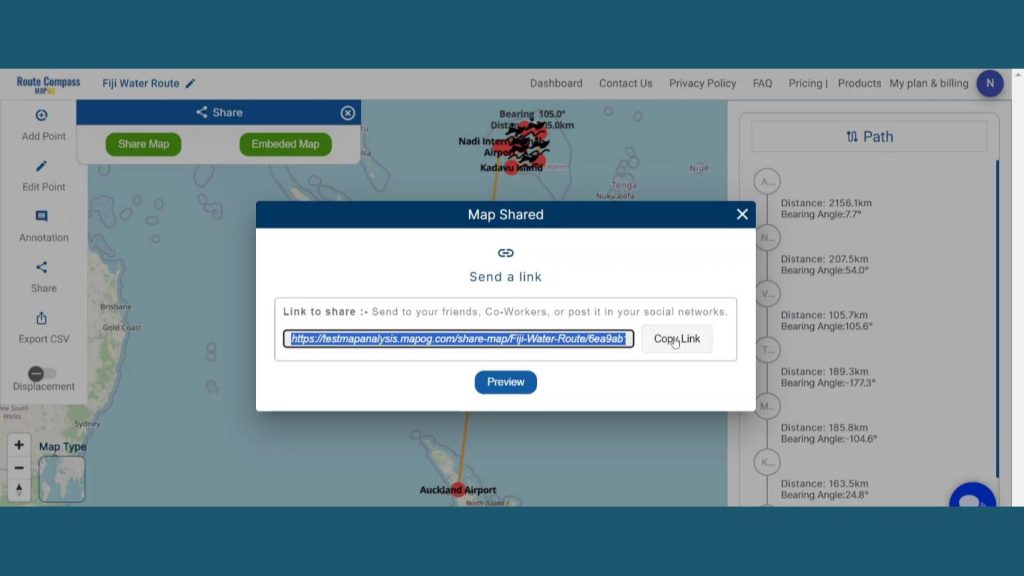
And by embedded map option users can Insert their map into your blog, website, or simple application by using copy html option.
Here is an Export CSV option that lets the user download the route data for further uses. The data come with all the details like distance latitude, longitude and bearing angle.
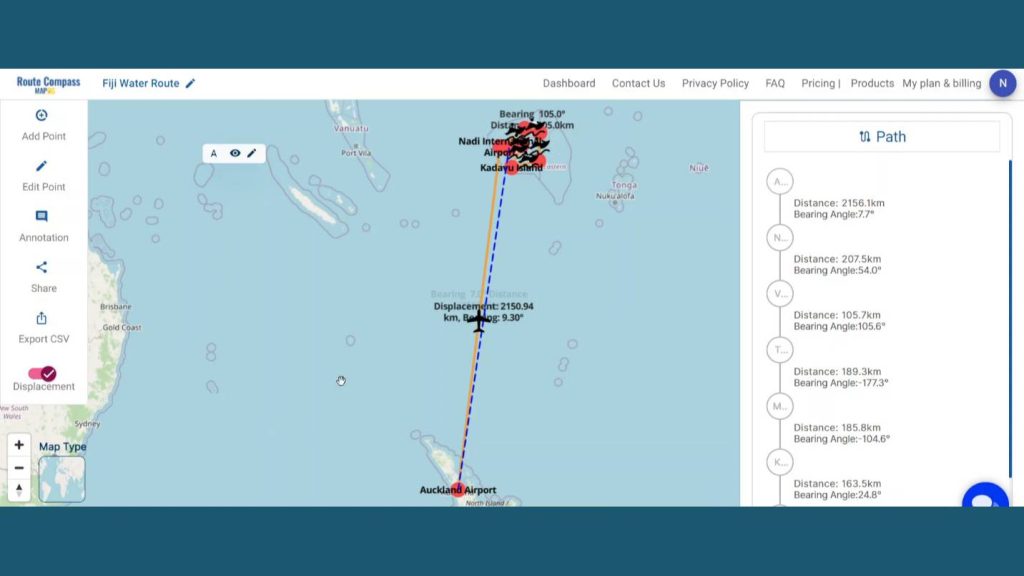
Step 7: Show Displacement
By turning on the displacement button the user can visualize the displacement between source and destination.
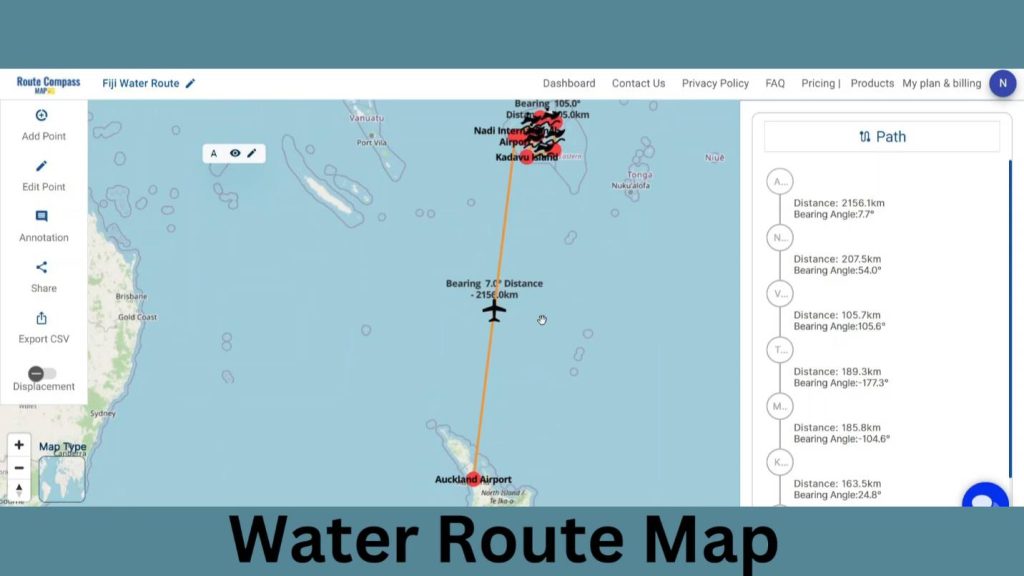
Step 8: Results & Analysis
With our map now enriched with details, let’s make those final adjustments. You’ve just crafted a thematic ROUTE map, a valuable asset for Tourism Industry, Maritime Transport and Navigation Services, and Environmental Conservation Organizations and beyond.
Major Findings
Enhanced Route Efficiency: The use of this tool resulted in more efficient water routes, reducing travel times and optimizing the exploration of islands, enhancing the overall experience for tourists.
Improved Safety Measures: Findings indicated that the Route Compass tool played a significant role in improving safety measures during water exploration, providing real-time alerts and aiding in emergency response planning.
Cultural Sensitivity Insights: The tool offered insights into planning routes that demonstrated cultural sensitivity, contributing to a more respectful and culturally enriching experience for tourists exploring islands by water.
Domain and Industry
This map is a powerful tool for Efficient Navigation, Environmental Respect, and provides Continuous Safety Improvement and beyond. In “Protecting Wetlands: Guide to Create GIS Map for Nature” where GIS emerges as a strong defender of endangered wetland ecosystems, start your adventure by learning its secrets.
Conclusion
I can’t overstate the importance of Plan Efficient Water Navigation Routes with Route compass for designing routes that are suitable in practical terms; more precisely, they are tailored to desires of tourists, combined with various means of transportation in the future. In fact, the it stands out among the other tools that adventurers need, covering the full spectrum of their navigation requirements, both navigating in the heart of the urban charge and while lost in a variety of landscapes.
Here are some other blogs you might be interested in
- Fast Emergency Response: Using GIS and Isochrone Maps for 10-Minute Ambulance Arrival
- Mapping Tiger Attack Hotspots – Create an Online Map and Share
- Make Routes for Military Aerial Planning- Through Bearing angle and Distance calculation – Online Route Compass
- Mapping Healthcare Efficiency: GIS Buffer Analysis of Hospital Locations
- Add WMS- Two step online view of WMS layer on a map
- Plot ATM locations on a map and embed on your website
- Map habitat locations of endangered animals & keep track of their living