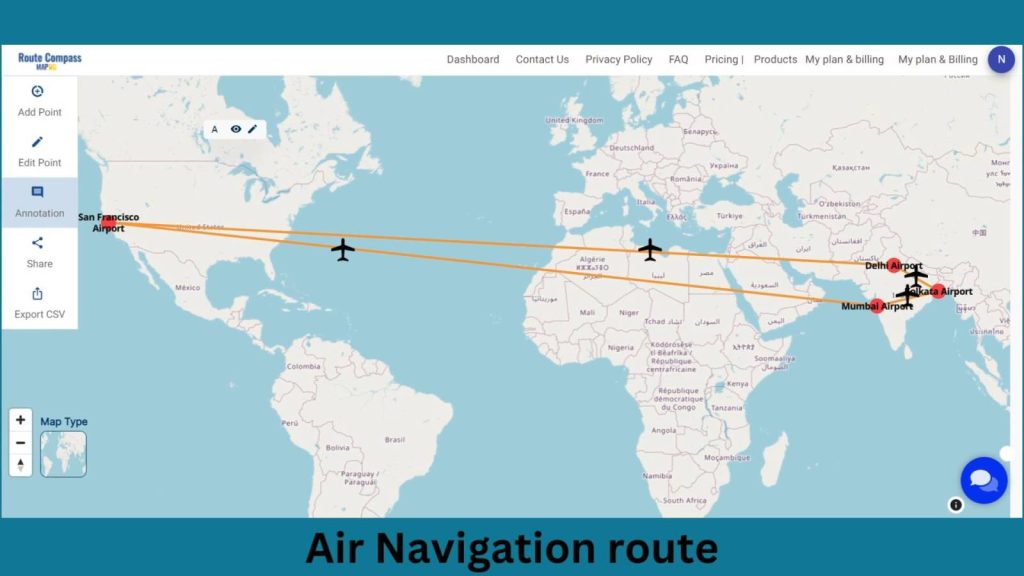
Through the integration of airspace, and topography data, “Optimizing Flight Paths and Safety with Route Compass” improves route planning. In air navigation from one Airport to another Airport using MAPOG, pilots leverage cutting-edge Geographic Information System (GIS) technology. The route compass, part of the MAPOG system, facilitates precise navigation, ensuring optimal flight paths and efficient fuel utilization. This advanced tool enables pilots to make informed decisions, enhancing safety and accuracy during the transcontinental journey.
Key Concept to Navigate the Skies Using Route Compass
Our aim is to visually represent the air navigation path connecting various airports worldwide. This map’s thematic quality undoubtedly contributes to its perceptive navigation and route features. Join us as we walk you through the process of making this effective map in MAPOG. Now let’s get started!
Enter the world of emergency response as the story progresses by utilizing “Fast Emergency Response: Using GIS and Isochrone Maps for 10-Minute Ambulance Arrival“
Steps for Creating an Air Navigation Route with Route Compass Tool In MAPOG
Step 1: Open Route Compass Tool
First, Navigate to the Route Compass Tool interface.
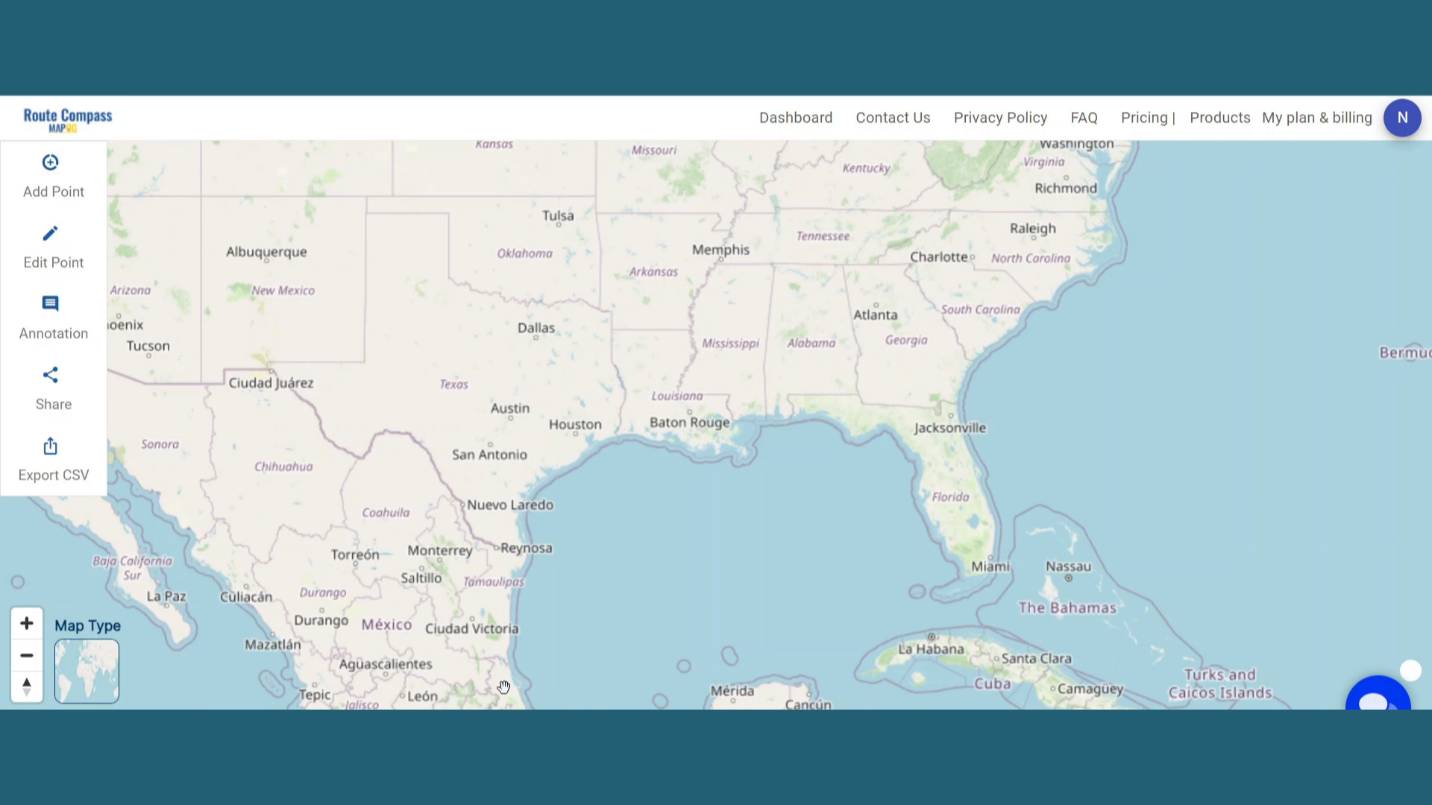
Step 2: Add Points:
Now, after coming to the Route Compass interface you’ll see the Add point button click on the Search address button and search for the location you desire.
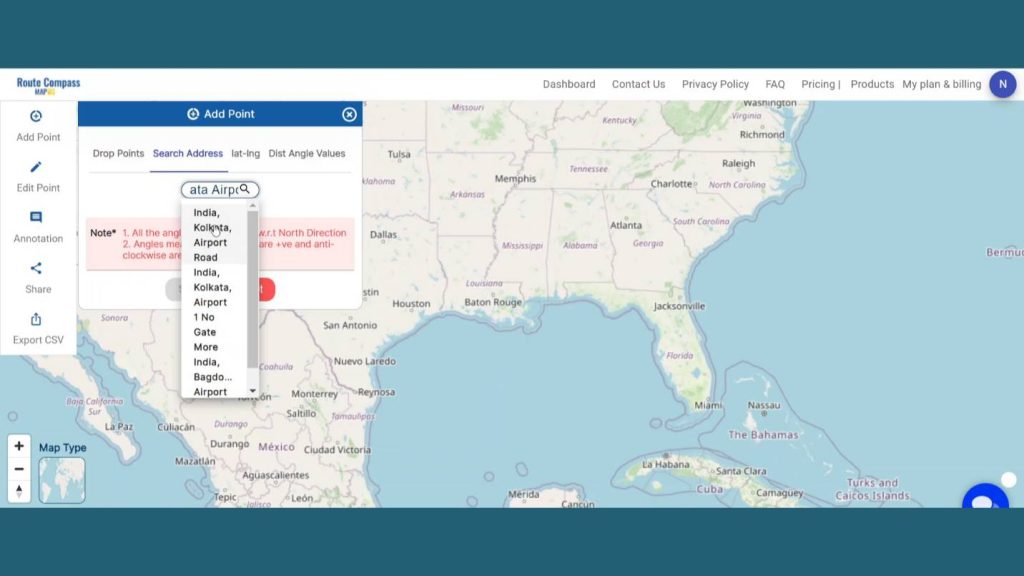
After clicking the desired airport from the drop down menu a point will be created there.
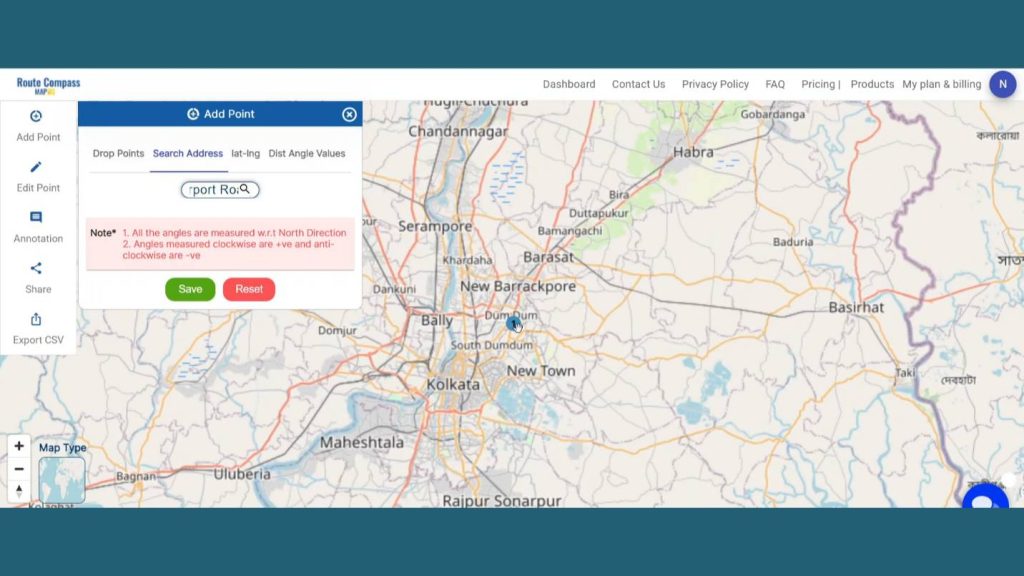
Step 3: Create Routes
Now, let’s add the way points as per our source and destination. Suppose here Source Is the “Airport A” and the destination is “Airport C”. But as it is a round trip from “Airport A” to “Airport C” our final destination will be “Airport A”. After dropping a waypoint in “Airport A” our next important stoppage is “Airport B”. So, we are going to search “Airport B” in the search Address bar.
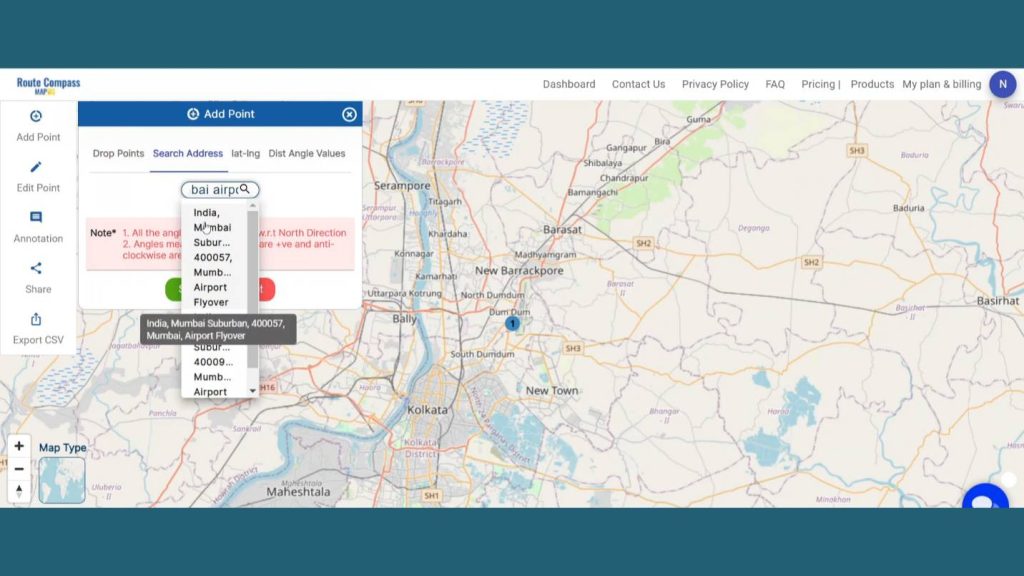
After searching it we are going to drop off a waypoint in “Airport B”. At the left side of the screen users can see the distance and bearing angle between “Airport A” to “Airport B”.
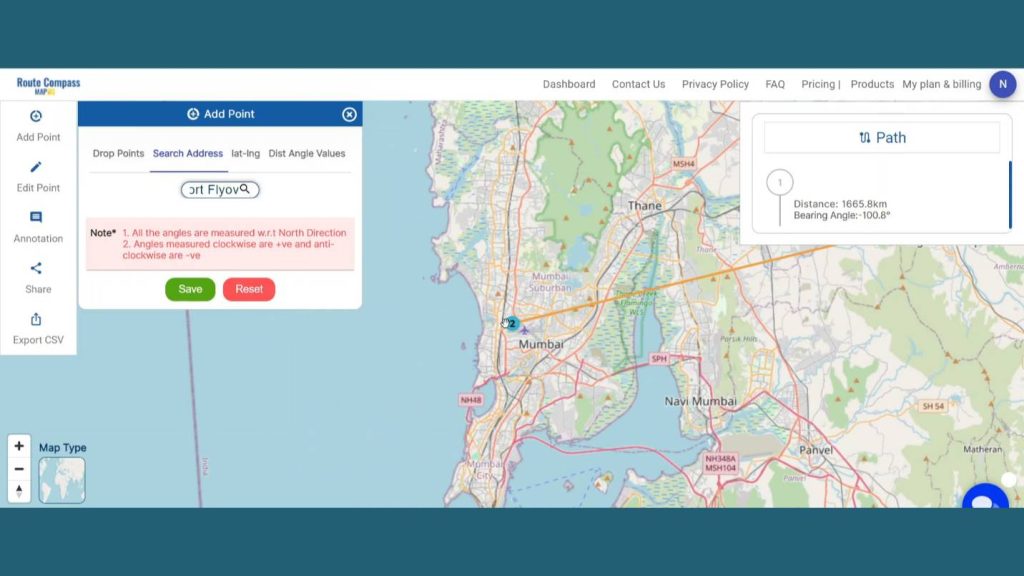
Our next stoppage is our primary destination “Airport C” airport. By searching the address, we are going to drop a point in “Airport C”.
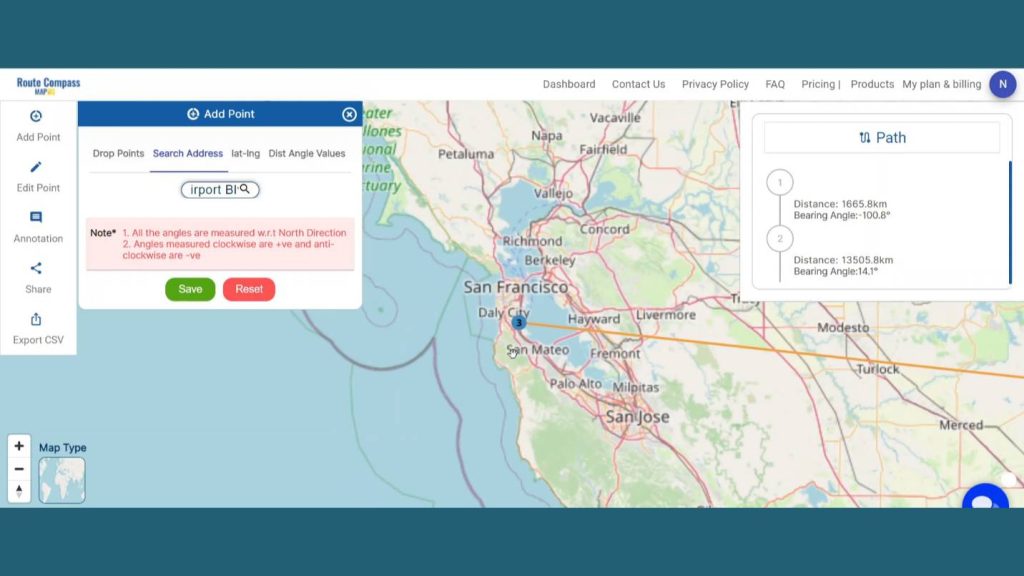
There are basically two air routes provided for “Airport A” to “Airport C”. We’ve already shown the “Airport B” Route while displaying the “Airport A” to “Airport C” route, but while coming back from “Airport C” to “Airport A” we’ve chosen another route “Airport D route”. With Route Compass precise Navigation by searching the “Airport D” in the Search address bar we can leave a waypoint there.
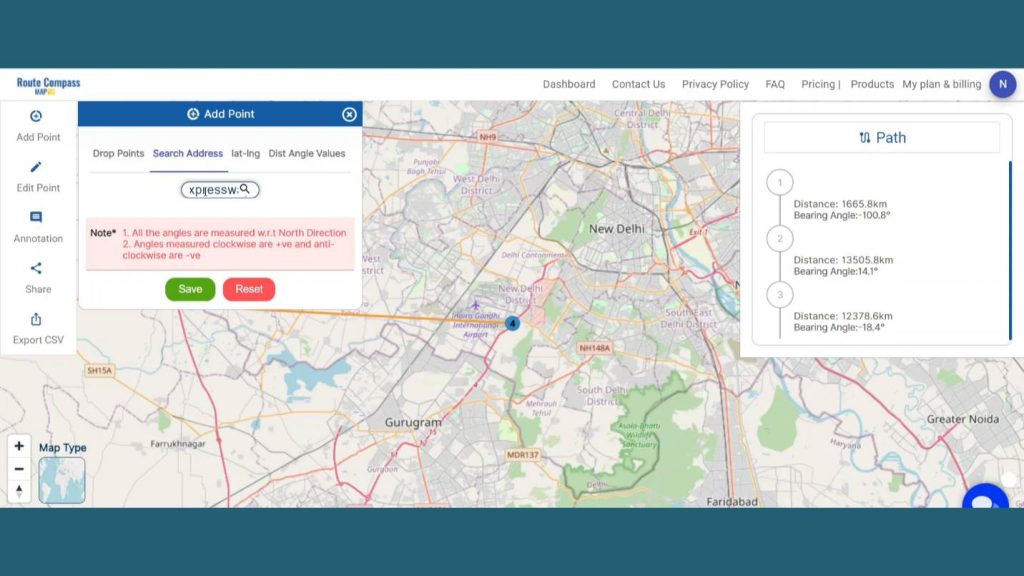
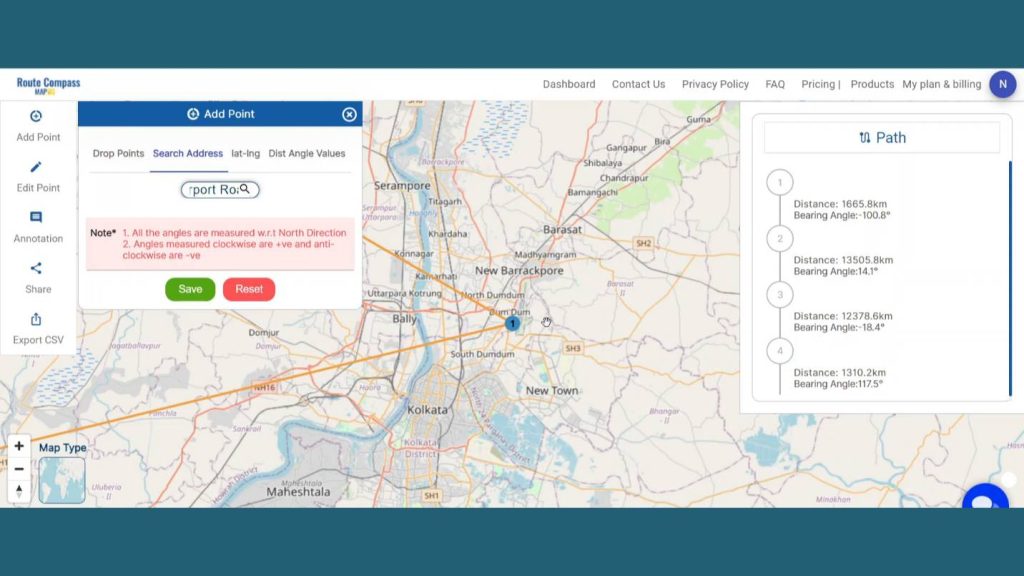
Our final destination of our Round Trip from “Airport A” to “Airport C” is “Airport A”. Finally, by searching “Airport A” and dropping a waypoint there our amazing route creation is complete.
Step 4: Save Route Map
After finishing the routes click on the save button showing the left side of the screen in the add points button. By clicking the save button a dialogue box will open. Give the proper project name and description related to the project and click on create map. And the map will be saved.
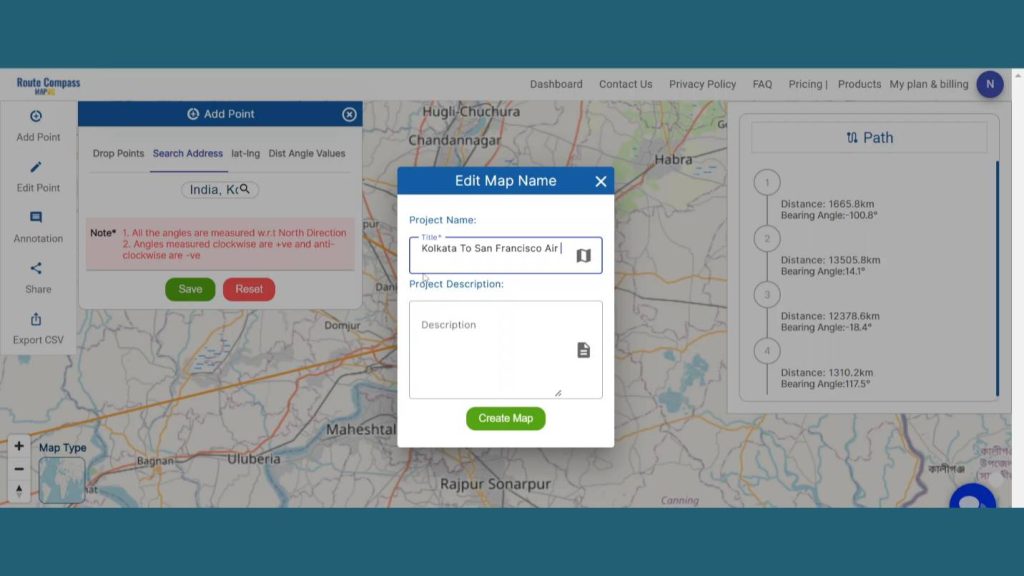
You can even view the distance and bearing angle between 2 points on the right side of the screen. It helps the user to get more detailed information about the route they are creating.
Step 4: Add Text
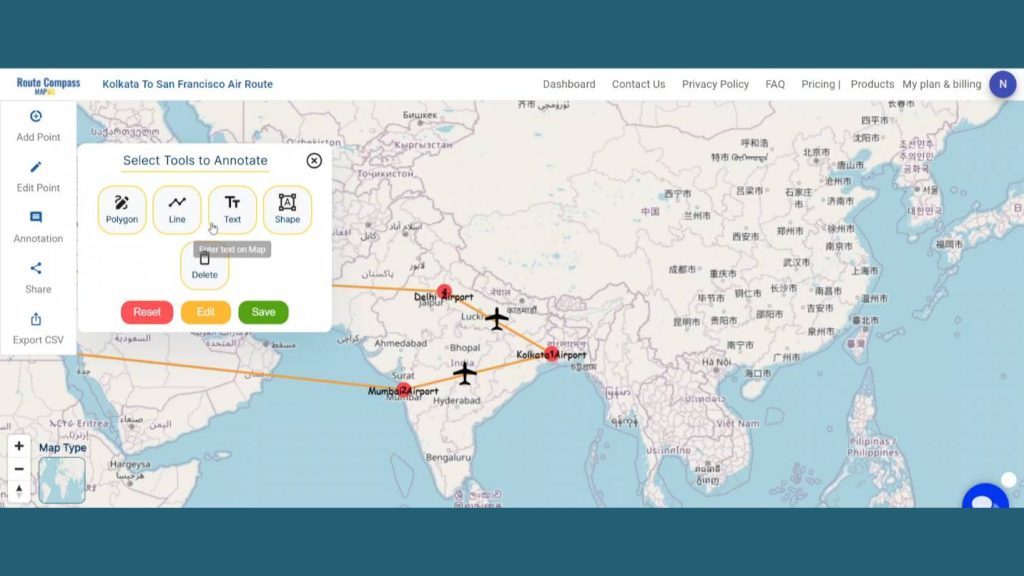
To add any text by the points, click on the Annotation option and click on text. Then the user can put the cursor near the waypoints and put some text related to the waypoint or the path.
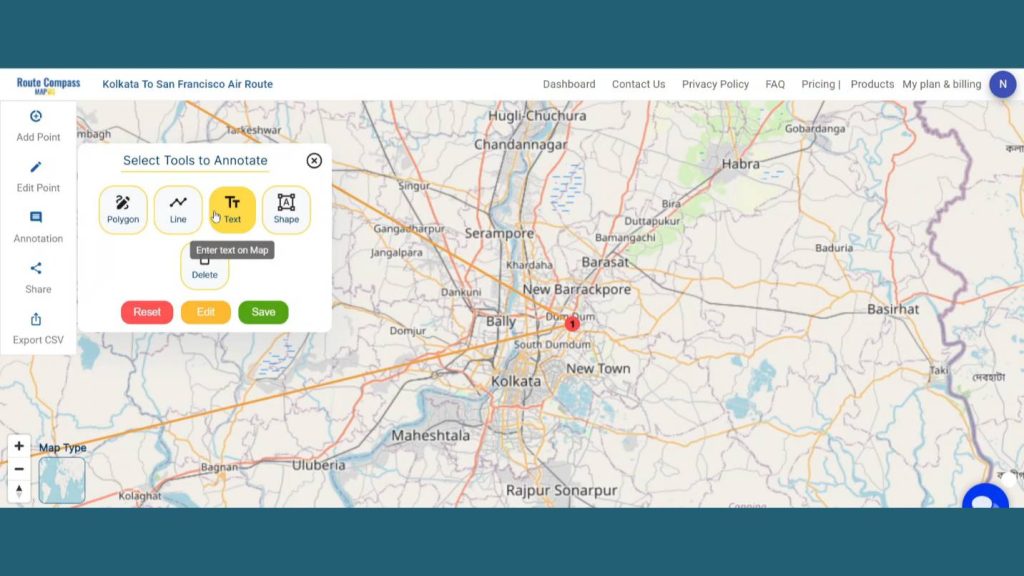
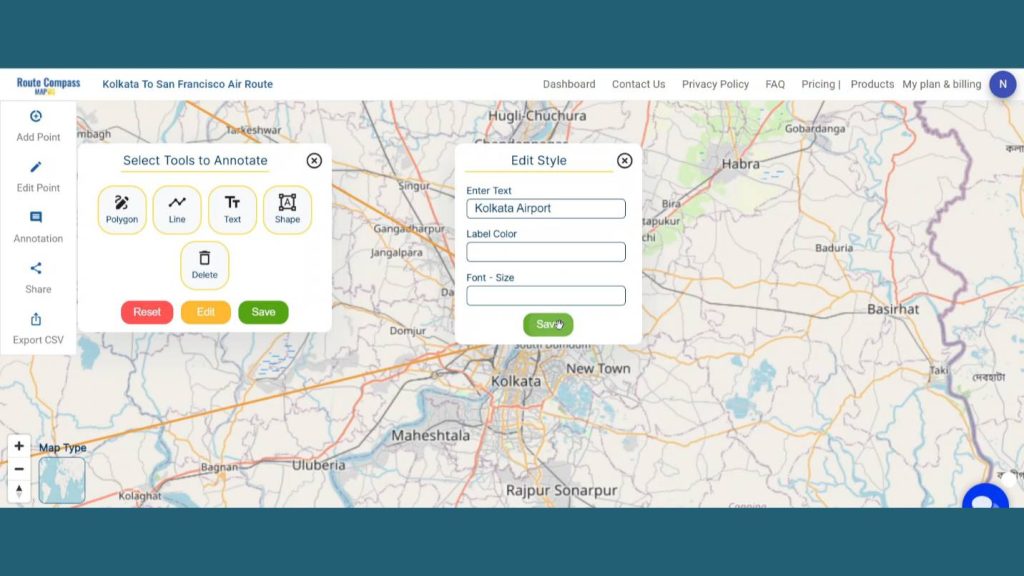
MAPOG gives the freedom to edit the text, change the color and font size of the text. It lets the user change the labels of the waypoints for better understanding. It helps the user to get more detailed information about the route they are creating.
Step 5: Add Icons for better explanation
Additionally, MAPOG gives the opportunity to enhance the map by adding the Icons. First go to the Annotation and click on the shape button.
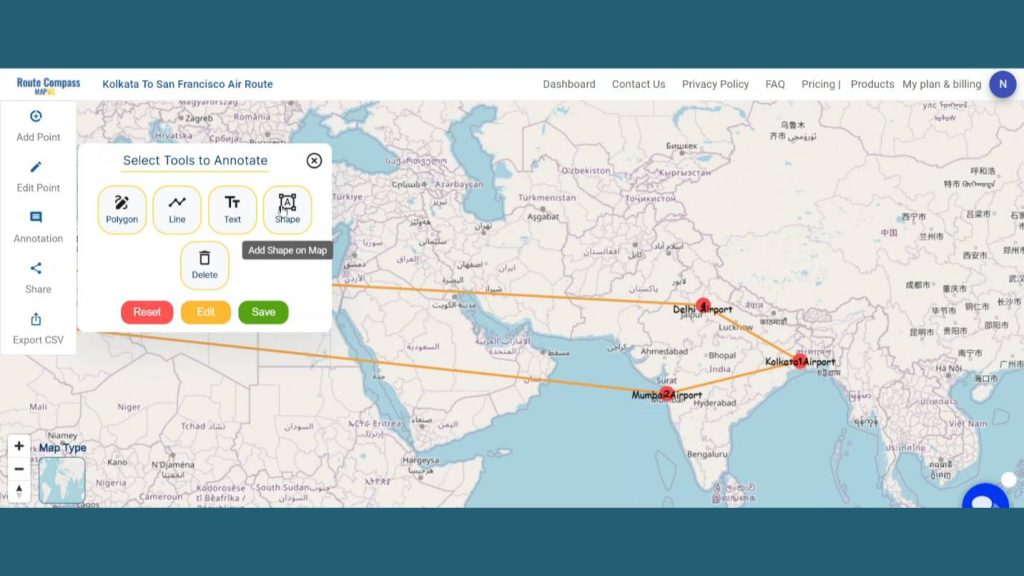
An icon box will open on the screen. Then you can search for a particular icon and drop it on the map. This lets the user explain the exact use of any particular path or location to provide context to the audience. Lastly click on Save to save the entire thing.
Step 6: Share Route map
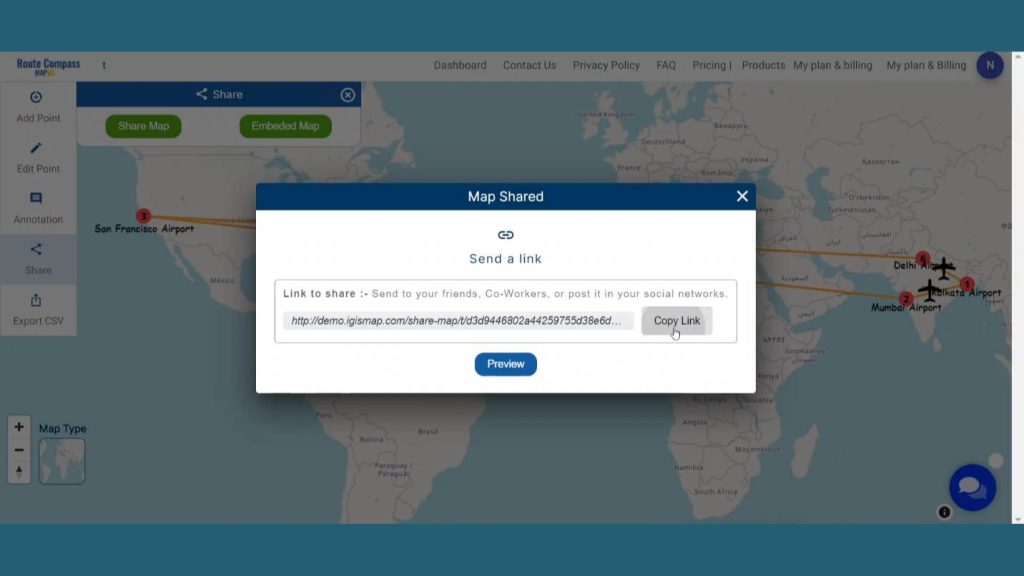
Users can even share their map by clicking the share button. There are two options. By share map users can Send or post it in their social networks by copy link option or preview option.
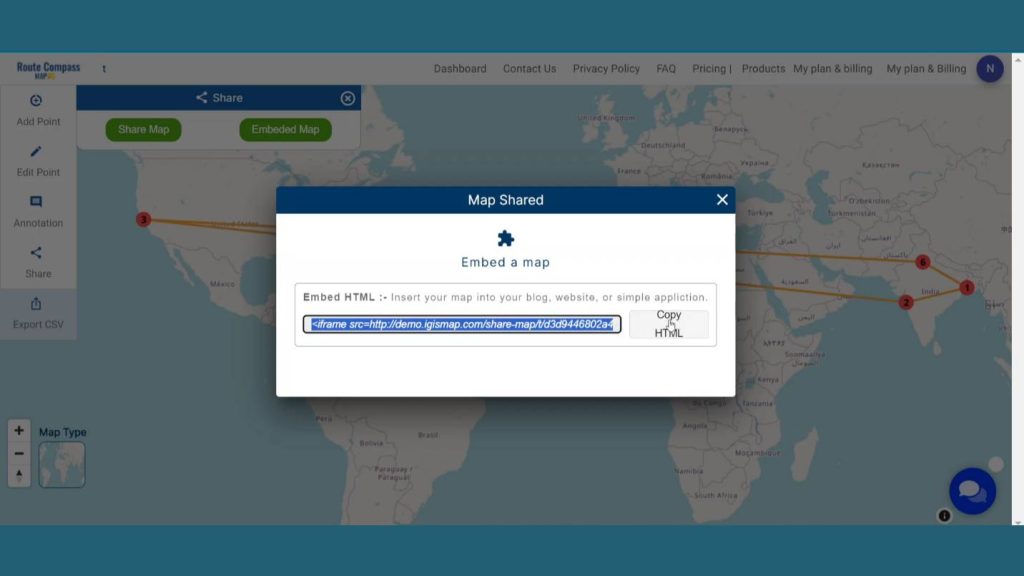
And by embedded map option users can Insert their map into your blog, website, or simple application by using copy html option.
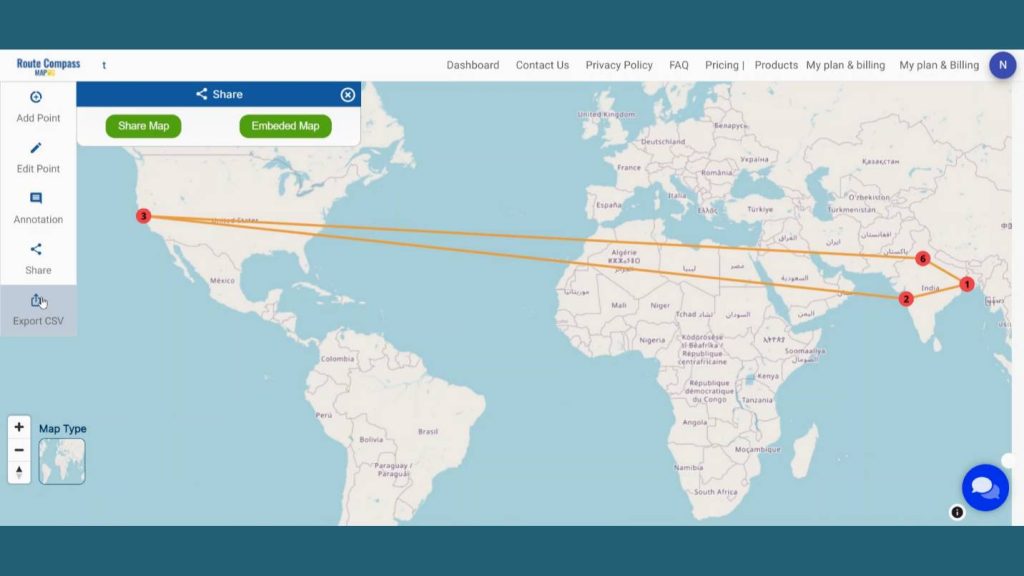
Here is an Export CSV option that lets the user download the route data for further uses. The data come with all the details like distance latitude, longitude and bearing angle.
Step 7: Results & Analysis
With our map now enriched with details, let’s make those final adjustments. You’ve just crafted a thematic ROUTE map, a valuable asset for Aviation Industry, GIS Technology, and Transportation and Logistics and beyond.
Major Findings
Optimized Flight Paths: MAPOG’s route compass optimizes flight paths between Kolkata and San Francisco using real-time data, considering weather, traffic, and airspace constraints for fuel efficiency and time-saving journeys.
Enhanced Safety Measures: MAPOG integration in air navigation enhances safety by providing precise terrain, weather, and airspace information, enabling pilots to make informed decisions and avoid hazards.
Operational Efficiency: MAPOG’S route compass enhances operational efficiency by integrating GIS technology, facilitating seamless coordination, reduced deviations, and improved flight management, thereby enhancing the reliability of air travel between Kolkata and San Francisco.
Domain and Industry
This map is a powerful tool for Efficient Routing, Dynamic Adjustments, Precision Navigation, Post-Flight Analysis, and Safety Enhancement.
With “GIS Analysis in Urban Planning: Reshaping Transportation Future Insights of state/city” you can fully immerse yourself in the dynamic landscapes of urban planning and learn how GIS can transform transportation and optimize it for a sustainable and connected future.
Conclusion
I’ve found that utilizing “Optimizing Flight Paths and Safety with Route Compass” has been pivotal in crafting an Air navigation route with flourishing details. In summary, the Route Compass application in MAPOG caters to the needs of outdoor adventurers, providing them with a comprehensive tool for planning, navigating diverse landscapes.
Here are some other blogs you might be interested in
- Protecting Wetlands: Guide to Create GIS Map for Nature
- Mapping Tiger Attack Hotspots – Create an Online Map and Share
- Make Routes for Military Aerial Planning- Through Bearing angle and Distance calculation – Online Route Compass
- Mapping Healthcare Efficiency: GIS Buffer Analysis of Hospital Locations
- Add WMS- Two step online view of WMS layer on a map
- Plot ATM locations on a map and embed on your website
- Map habitat locations of endangered animals & keep track of their living